Your Cart is Empty
NOVEDGE Blog

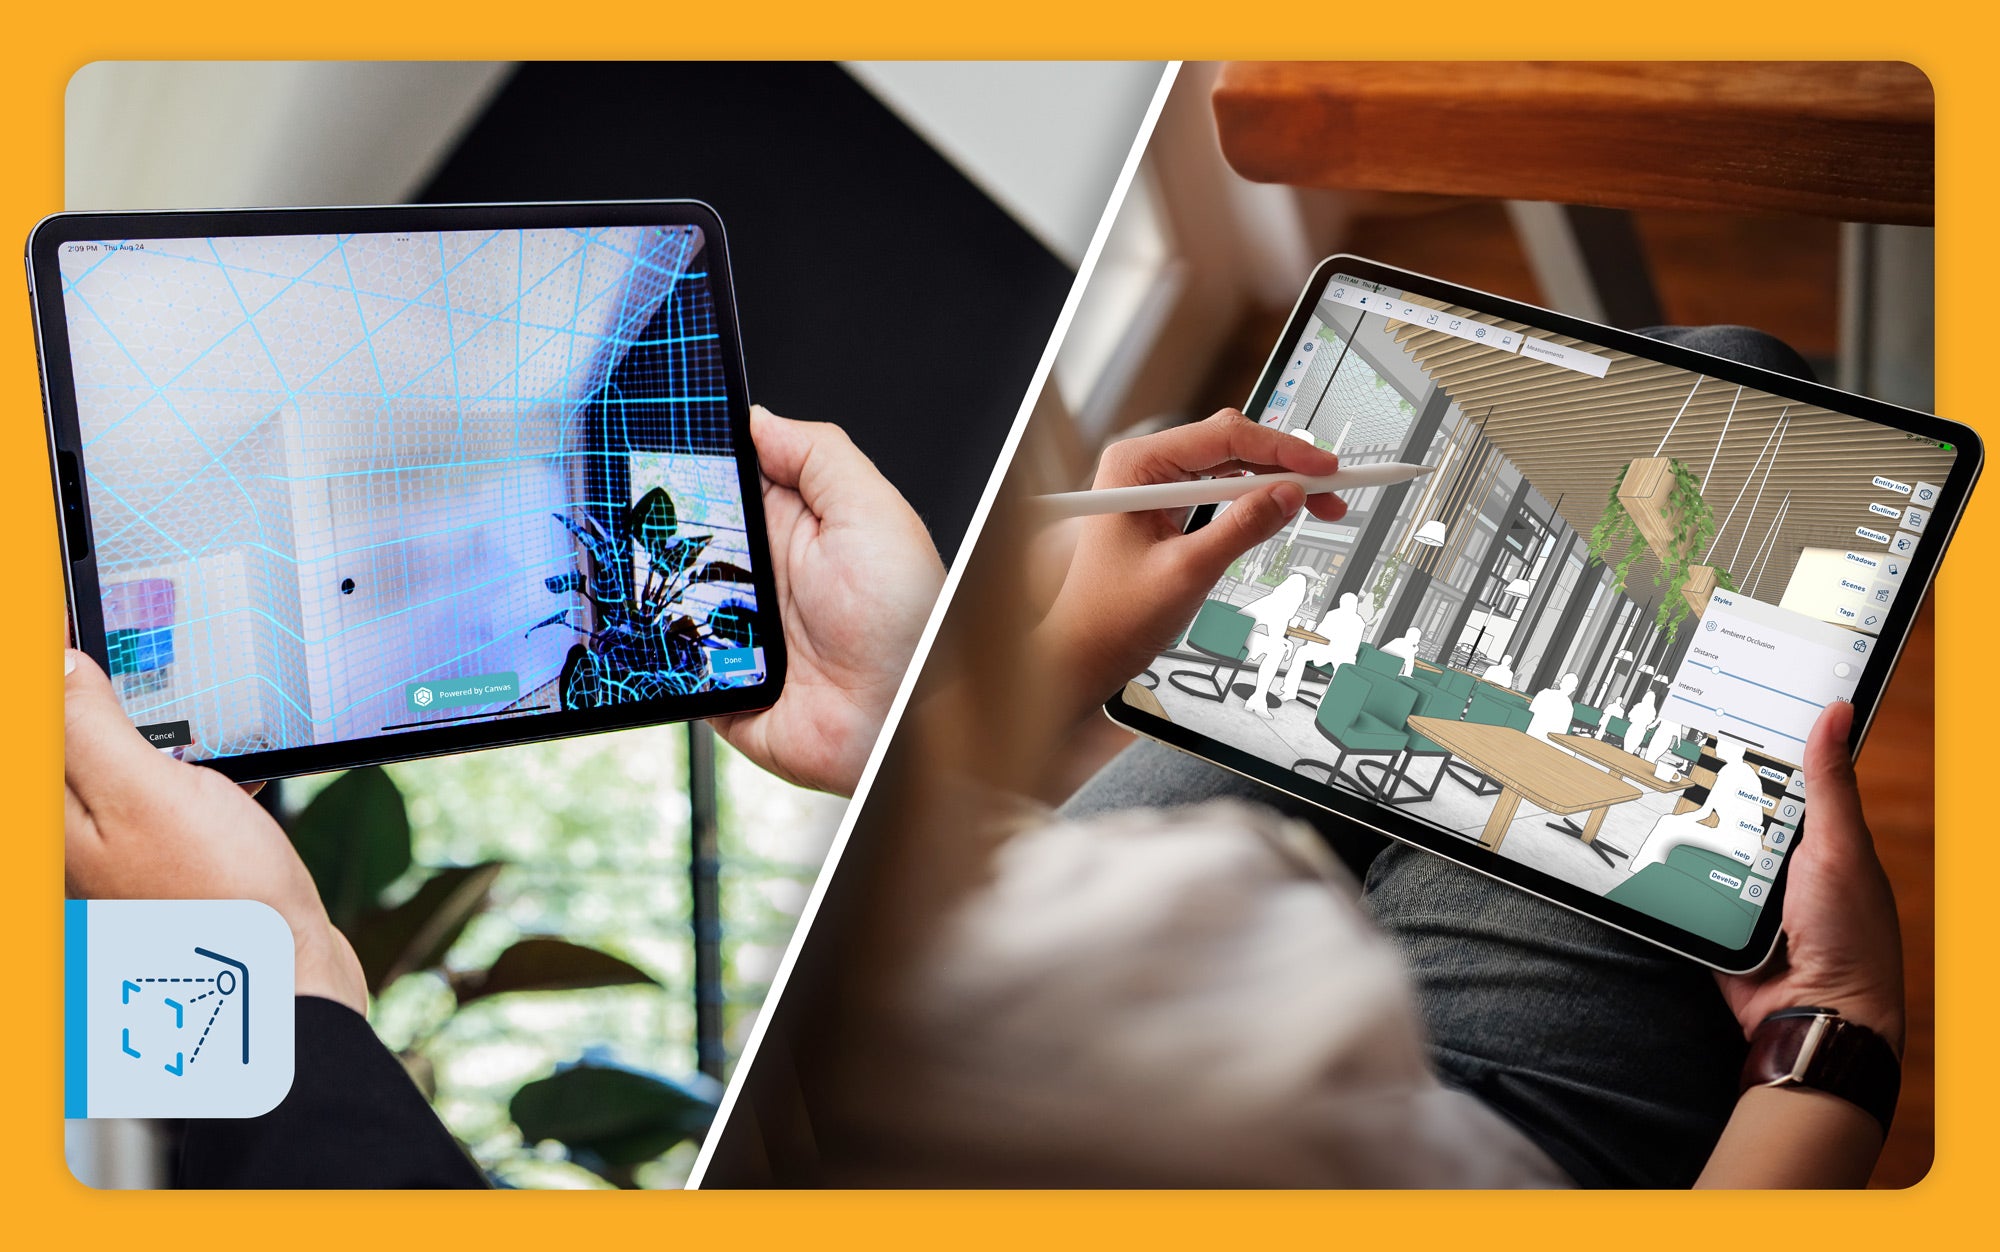


Explore the Latest AutoCAD 2025 Enhancements: Activity Insight, Smart Blocks, and Apple Silicon Support
Read More
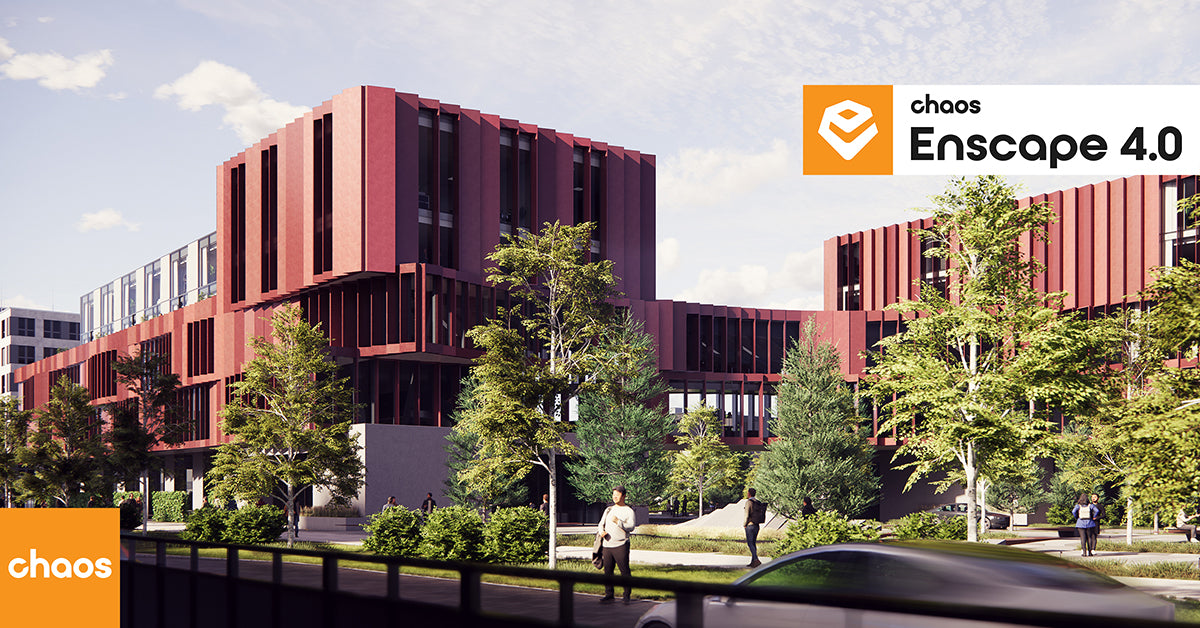
Unveiling Enscape 4.0: Revolutionizing Design with Unified Experience for macOS and Windows Users
Read More


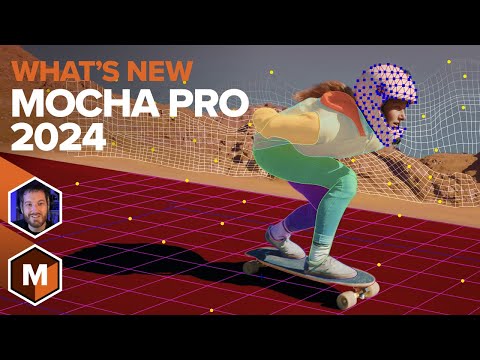
Unveiling Mocha Pro 2024: SynthEyes 3D Tracking Revolutionizes VFX Workflow with New Camera Solve Module
Read More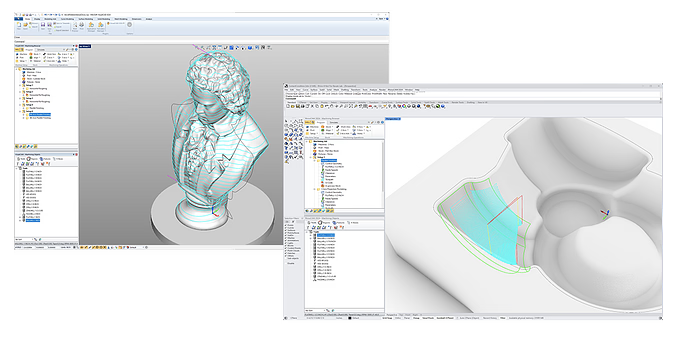

MecSoft Unveils RhinoCAM and VisualCAD/CAM 2024: Elevate Your Design and Manufacturing with New Features and Enhancements
Read More


Introducing form•Z Core: The Evolution of form•Z Jr with Enhanced Features and v10 Updates
Read More


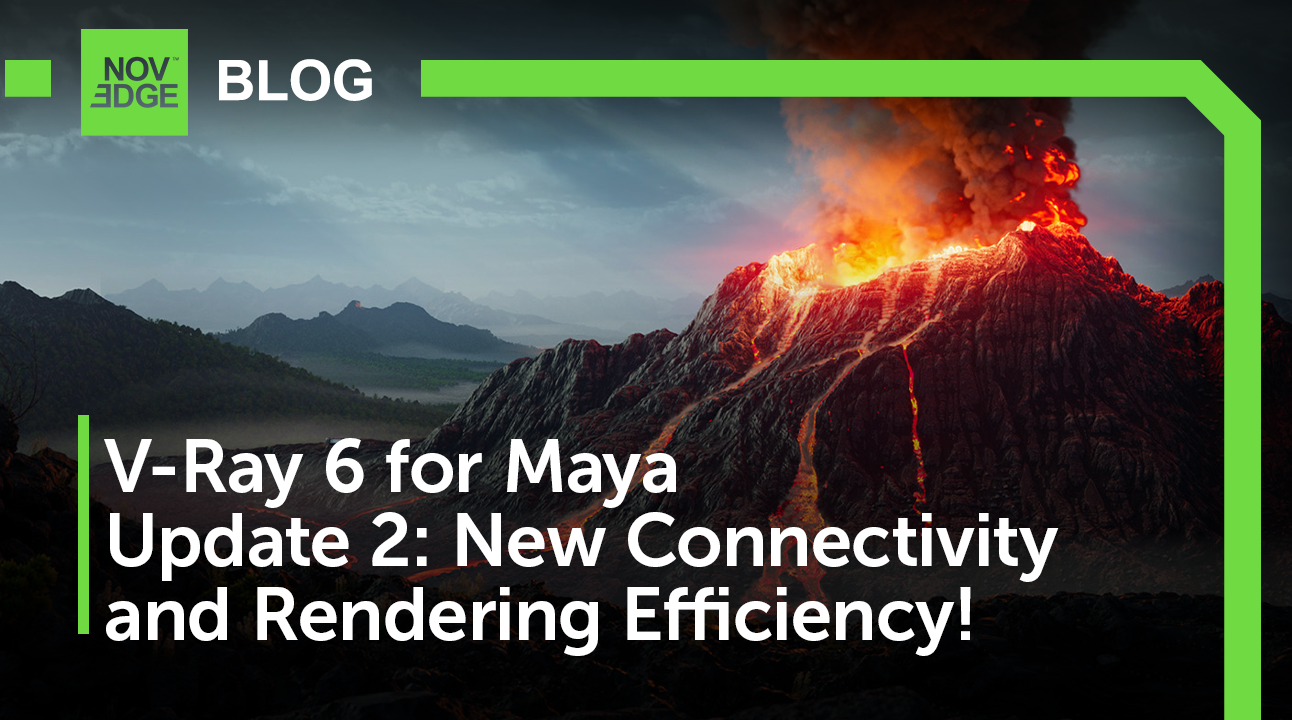
Unveiling V-Ray 6 Update 2 for Maya: Revolutionizing Creative Connectivity and Rendering Efficiency
Read More


Exploring the New Frontier of Jewelry Design with RhinoArtisan 5.4: Features That Personalize Your Creative Process
Read More

Maxon Unveils Red Giant 2024 Update with New Bokeh Tools, Enhanced Color Management, and Cloud Capsule Support
Read More


Evaluating 3D Architectural Rendering Options: Should You Go In-House, Learn Yourself, or Outsource?
Companies face a crucial decision when it comes to producing these renderings: opt for an in-house team, invest time in self-learning, or turn to outsourcing services?
Read More
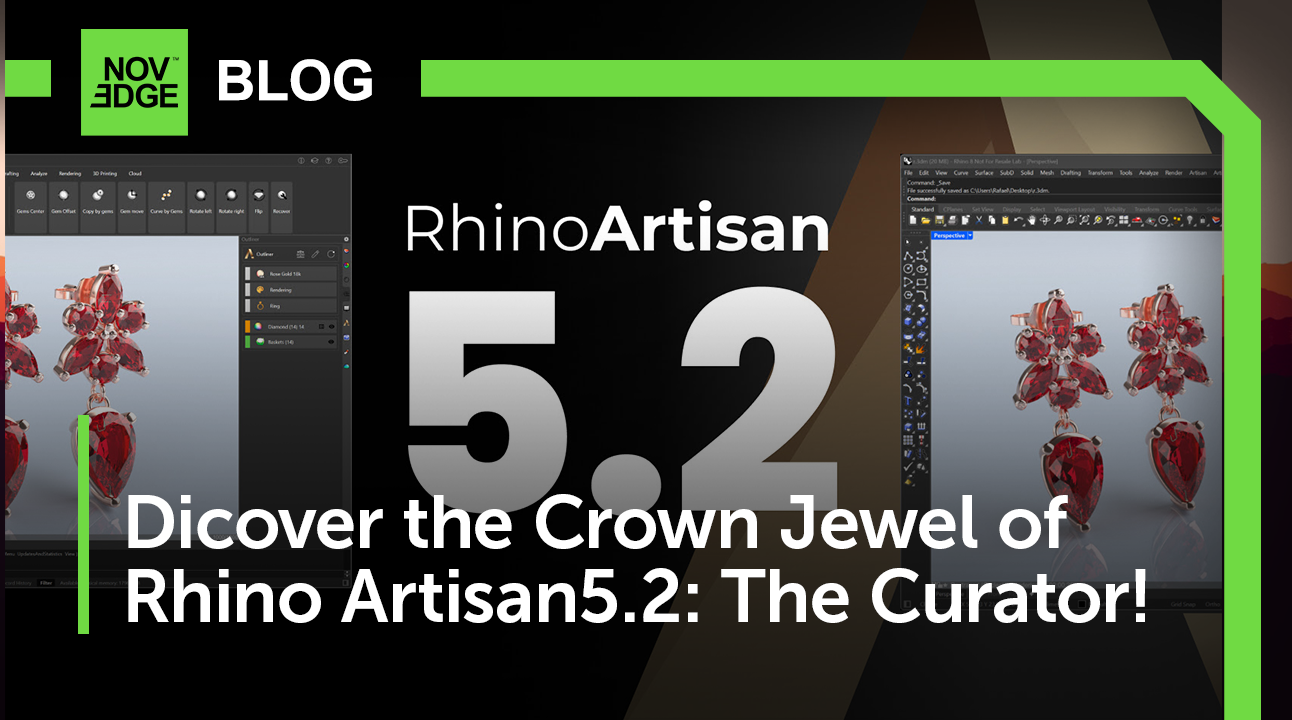
Expedite Your Creation Process With RhinoArtisan 5.2
RhinoArtisan 5.2, is compatible with Rhino 6, 7, and 8 and introduces revolutionary features that will boost your creativity and efficiency.
Read More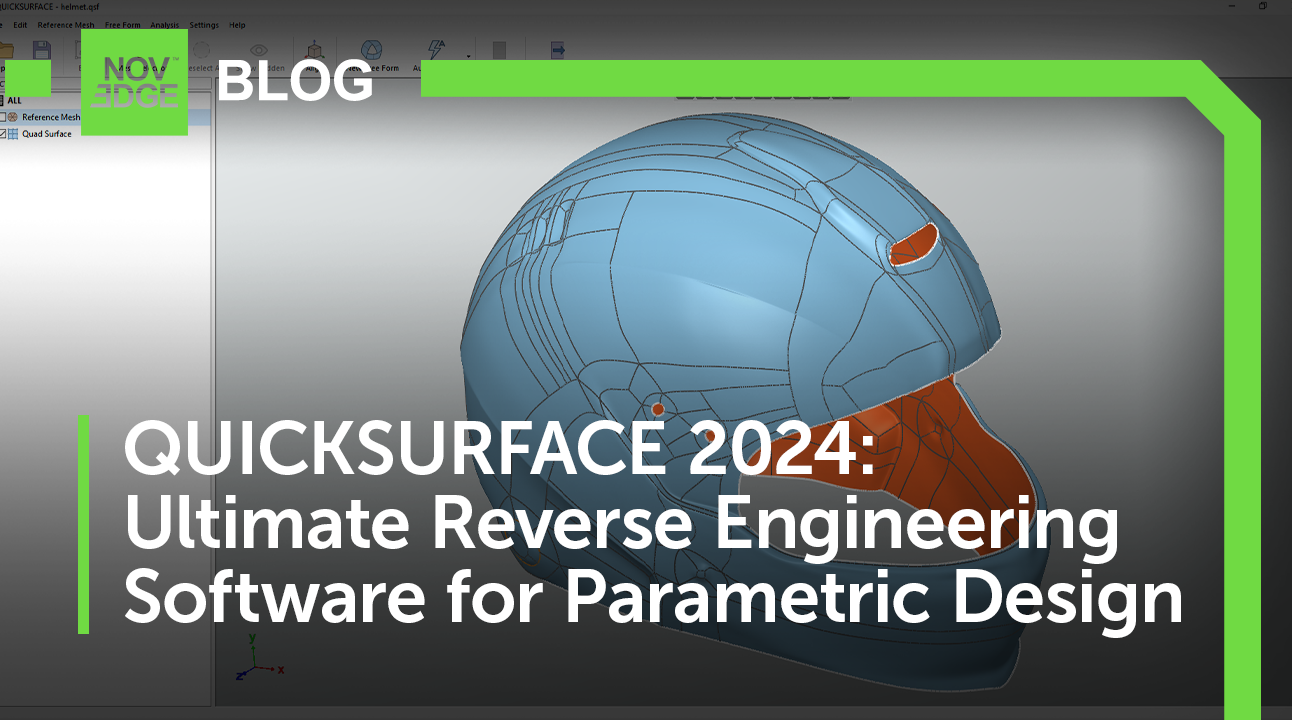


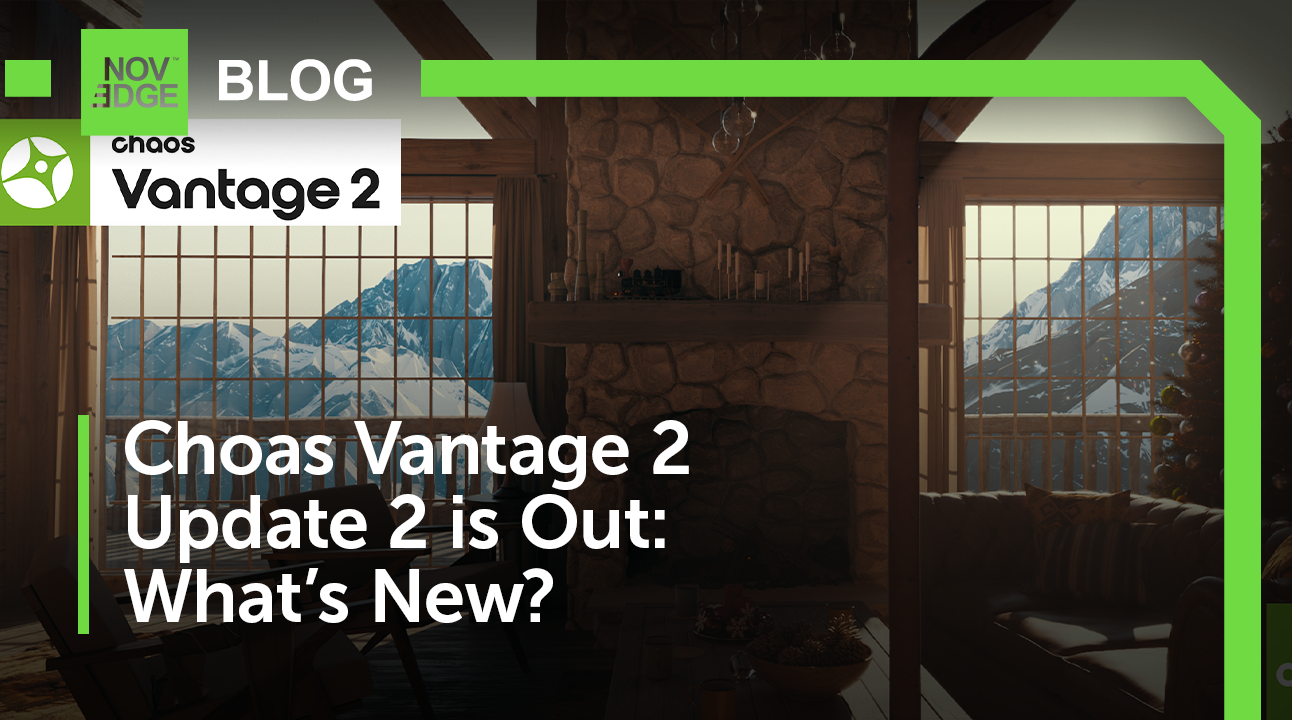
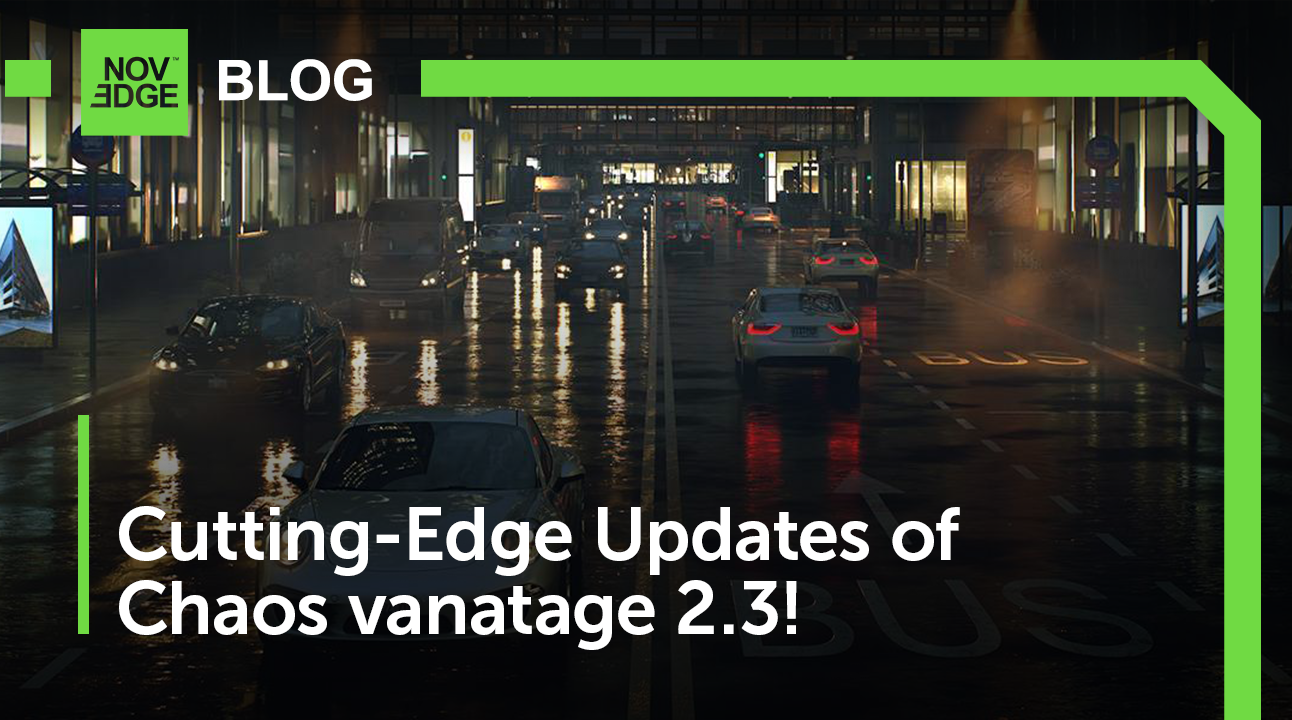
Explore and Present V-Ray Scenes in Real-Time with Chaos Vantage 2: The Revolutionary Visualization Tool for Designers and VFX Artists
Read More

Exploring the New Features of V-Ray Update 2: Improved User Experience and Accelerated Workflows
Read More
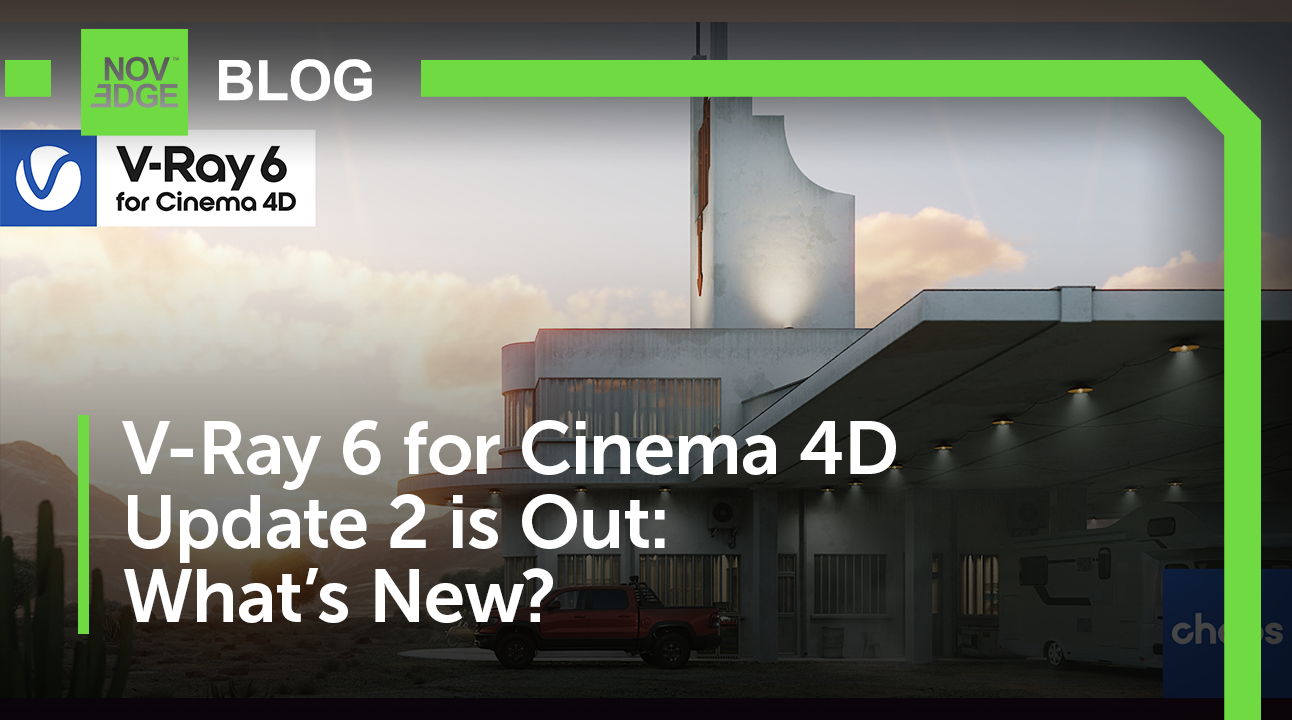
Exploring the New Features of V-Ray 6 Update 2 for Cinema 4D: A Game-Changer for Collaboration and Rendering
Read More